Got DeepSeek R1 to run locally on macOS: A Setup Guide
Like pretty much everyone else in tech last week, I was caught off guard (in a good way) by DeepSeek’s latest release: DeepSeek R1, a new “reasoning model” that’s been generating a lot of buzz. The biggest hook for me was the promise of local, open-source-esque usage—turns out it’s not truly open-source in the strict sense (you don’t get the raw model-building process), but it’s still free to use. Think of it as the “freeware” version of open source.
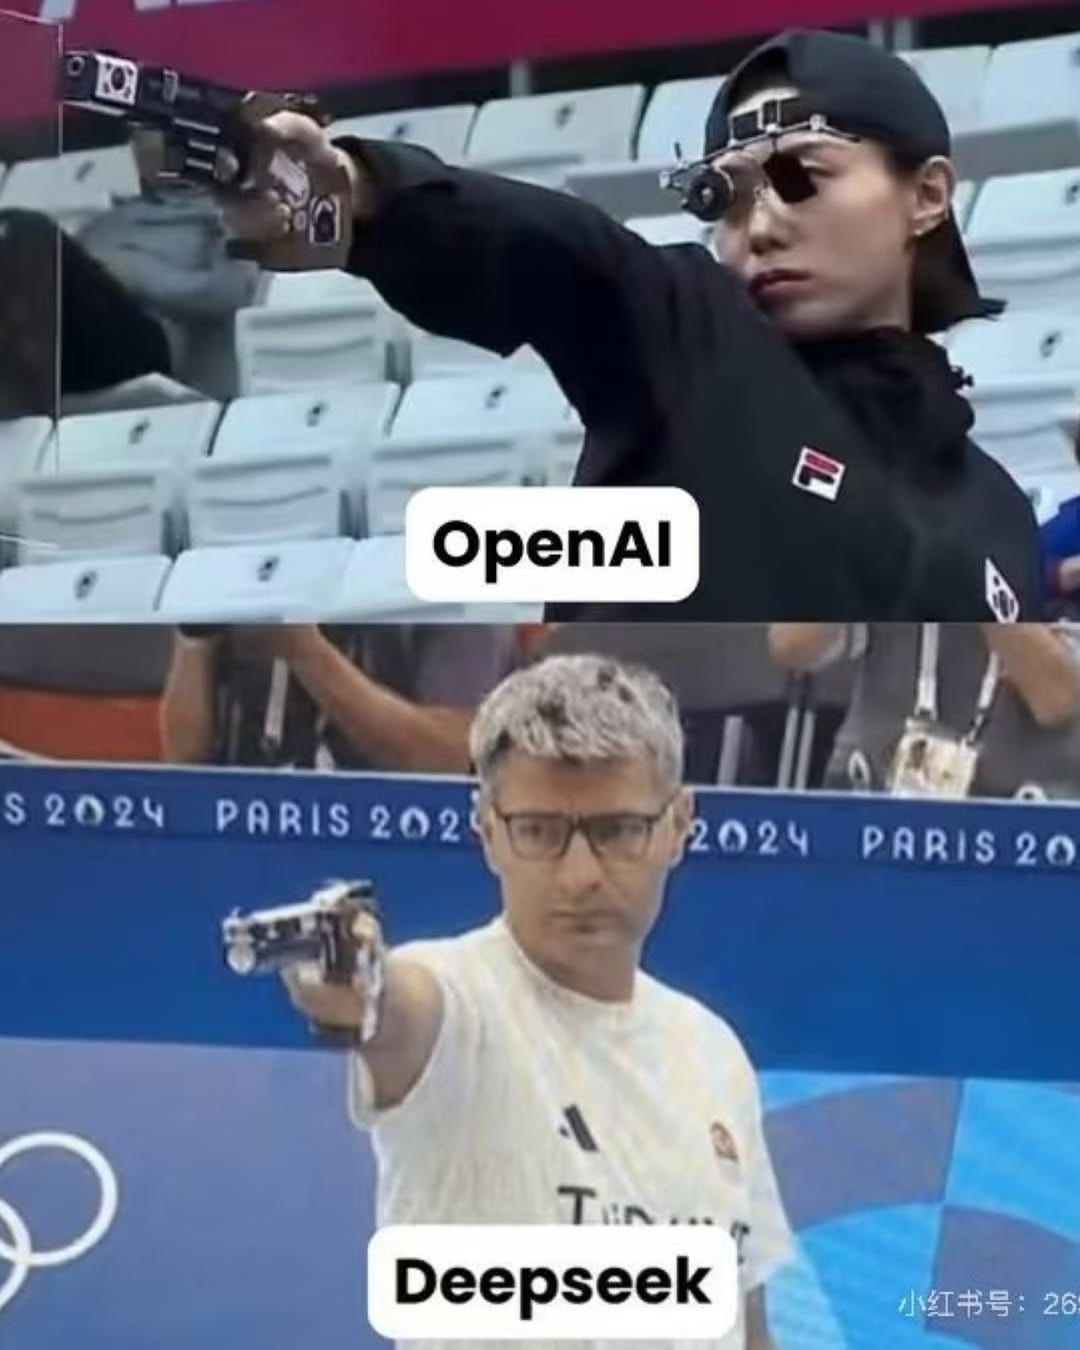
DeepSeek positions R1 as a competitor to other large language models, similar to OpenAI’s “o1.” I won’t dive into the nitty-gritty of how DeepSeek R1 was built (that’d be a longer read), but if you’re curious to try it out on your own machine—especially for privacy or experimentation reasons—read on.
Why Run DeepSeek R1 Locally?
1. No Rate Limits: No messing around with API quotas or billing.
2. Privacy: Your queries stay on your own hardware.
3. Experimentation: Tweak and test to your heart’s content without needing a server connection.
Why Distilled?
Right off the bat, I’m using a distilled version of DeepSeek R1. Why? Because the full-blown 671B-parameter model needs 6 NVIDIA A100 80GB GPUs (and for the “real deal,” you might need up to 16 of those monsters). With each A100 going for 17k–20k USD, that’s roughly 100k–120k in GPU gear alone—so you’re practically flirting with the cost of a nice house down payment just to run the original. Yeah… maybe next time.
Step 1: Install Ollama
Head to ollama.com and download the installer for macOS, Linux or Windows.
Step 2: Pull the DeepSeek R1 Model
DeepSeek R1 is huge, so if you’re on a laptop, you will run a distilled model (more on that in a second).
ollama run deepseek-r1:8bIf you haven’t got it locally, Ollama will download it for you (my download stalled a few times, but re-running picked up where it left off).
Smaller models typically run faster—and play nicer with laptops like my M1 Pro MacBook (32GB RAM). You can find a complete list of distilled models and their requirements here. But basically, the bigger, the better AI.
# Full model (requires significant resources)
ollama run deepseek-r1:671b

# Distilled models (more practical for local use)
ollama run deepseek-r1:1.5b  # DeepSeek-R1-Distill-Qwen-1.5B
ollama run deepseek-r1:7b    # DeepSeek-R1-Distill-Qwen-7B
ollama run deepseek-r1:8b    # DeepSeek-R1-Distill-Llama-8B
ollama run deepseek-r1:14b   # DeepSeek-R1-Distill-Qwen-14B
ollama run deepseek-r1:32b   # DeepSeek-R1-Distill-Qwen-32B
ollama run deepseek-r1:70b   # DeepSeek-R1-Distill-Llama-70B
Step 3: Open Web UI
For the Web Chat GUI you’ll need Docker running, then pop open a terminal and run:
docker run -d -p 3000:8080 \
  --add-host=host.docker.internal:host-gateway \
  -v open-webui:/app/backend/data \
  --name open-webui \
  --restart always \
  ghcr.io/open-webui/open-webui:main
Once that finishes, head to
http://localhost:3000in your browser to interact with DeepSeek’s model. Everything stays on your machine: no surprise rate limits, no prying eyes on your prompts.
DeepSeek R1 (distilled versions, at least) is a fun playground for tech/AI enthusiasts who want to tinker locally. It’s not going to beat the absolutely massive GPUs-and-jet-fuel version, but it’s a heck of a lot cheaper than shelling out 100k on hardware.
If you’ve been itching to test out a local LLM, do yourself a favor and give DeepSeek R1 distills a whirl. No HPC cluster required, no eye-watering GPU budget—and still plenty of stuff under the hood.
Thanks for reading my first post here. We’re all just figuring this stuff out. Cheers!


